 It's cold out. Really cold.
We've spent the last 2.5 days vegging out inside the house.
Ed plays his banjo, I tinker around in the kitchen, laundry room, or most recently, in front of my sewing machine. Hence, the birth of today's post.
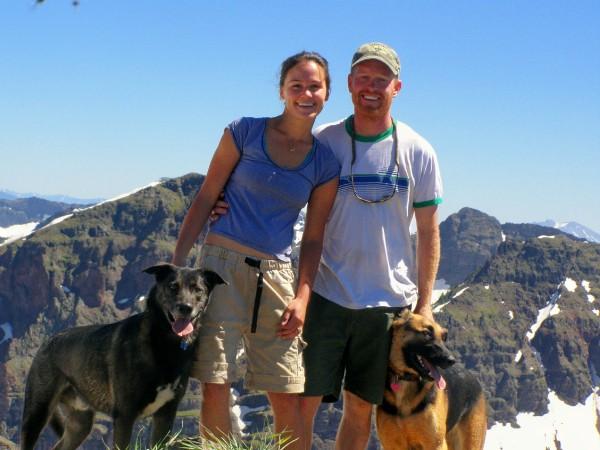
This post is inspired by my friend Cresty.
Cresty has mad style. He rocks wife beaters when it's 50 degrees outside, jeans when its 90, and cool, dark sunglasses until he goes to bed at night.
Cresty comes to visit us a few times a year, and in the winter, we ski.
Being the style master he is, Cresty wears a scarf in the winter. Unfortunately for him, skiing and scarves don't tend to mix, they flap around at untimely intervals, and can easily get wrapped around the ski lift. Danger, Safety-pants!
So this year, I offered to make Cresty a neck gaitor, to sit in for his scarf while on the slopes.
And off we go.
 Oh no, you say.
 I can't sew, you say.
Ahhhh... but you can.
A few years ago, five to be exact, Ed bought me a sewing machine for my birthday.
I took a few classes, basically teaching me how NOT to break my fancy machine.
From there, I experimented.
For this project, however, you don't really need a machine at all.
A needle and thread will take a bit longer, but work just as well.
Above, are the materials you will need to make a neck gaitor.
A piece of polar fleece, a ruler of some sort, and some scissors will do the trick.
The green mat is a cutting and measuring mat, the yellow handled thingy is a rolling cutter (so cool), and the little white guy is a seam cutter for when you royally f*ck up.
(I use my seam cutter at least every five minutes.)
 First, and most importantly, figure out which direction your fabric stretches. This essential step is one I often overlook, resulting in an ill-to-non-fitting neck gaitor.
Not ok for a claustrophobic.
Measure and cut your fleece into a rectangle, as seen above.
The stretch should be horizontal, going the "long" direction of your rectangle.
The dimensions of my rectangle are 13 inches by 21 inches, but adjust to your liking.
The dimensions of my rectangle are 13 inches by 21 inches, but adjust to your liking.
I have a huge head. Enormous. Almost freakish.
 Next, you are going to sew a 1 inch seam on the long sides of your rectangle.
Try to make sure you fold all of your seams the same direction so that your gaitor isn't super-ghetto looking.
Lastly, sew the short sides of your rectangle together, creating a tube.
Lastly, sew the short sides of your rectangle together, creating a tube.
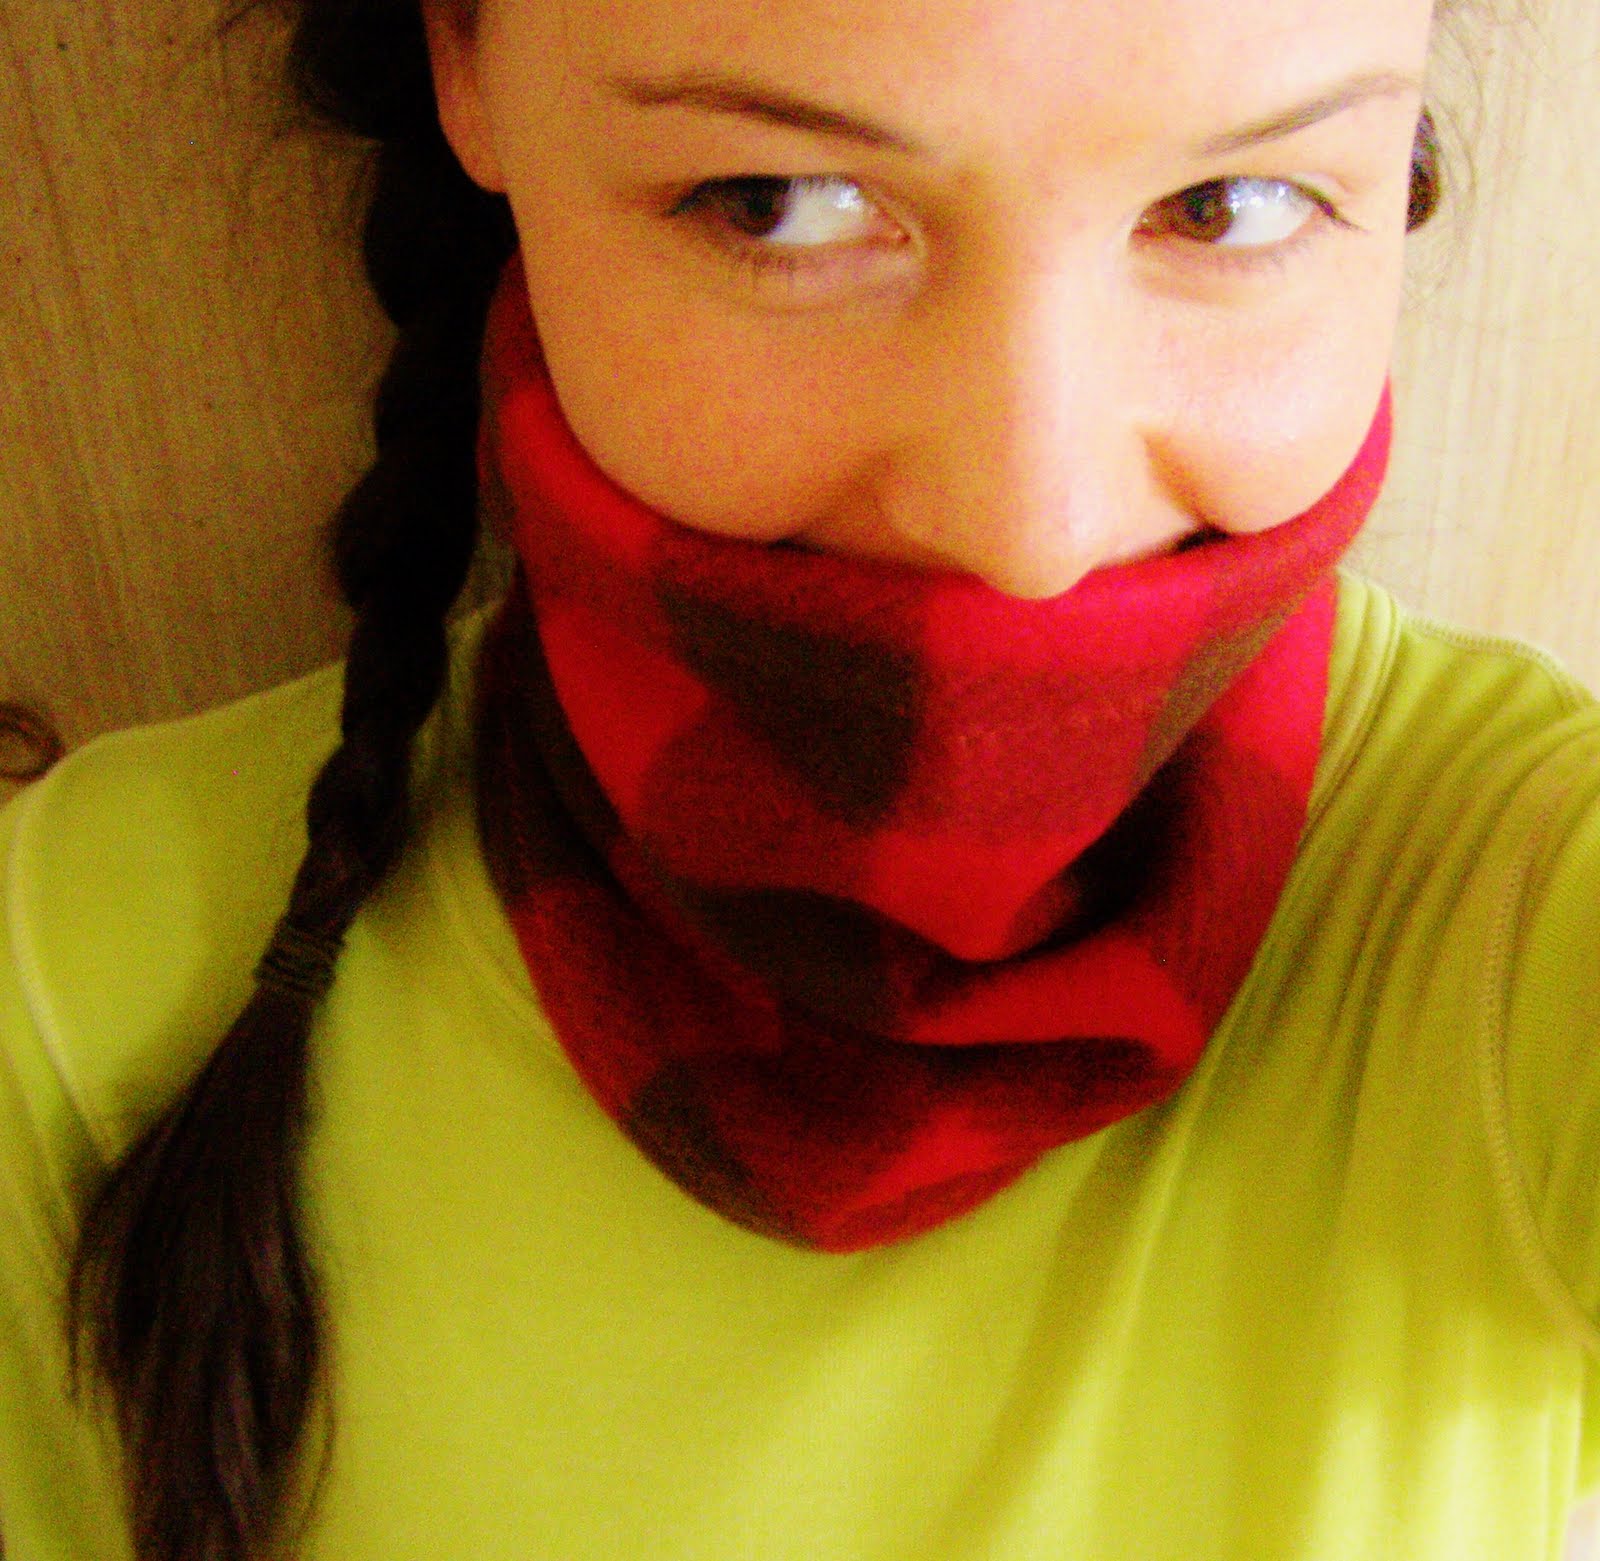
Turn your gaitor right-side-out and try it on. If it's too big, sew another "short-side" seam about a 1/2 inch in and cut off the excess fabric.
You can adjust your measurements to fit your needs.
 Above are a few sample neck gaitors that I made whilst working out the kinks. The one on the right is actually made from an old fuzzy sweater and is really warm and snugtastic.
 Definitely experiment with different fabrics and materials to find what works best to keep that neck, chin, and nose warm and dry while out on the slopes!
 Good talk. See ya out there.
 Good talk. See ya out there.


If only Cresty could read.
ReplyDeleteum... tablature doesnt count, cresty.
ReplyDelete